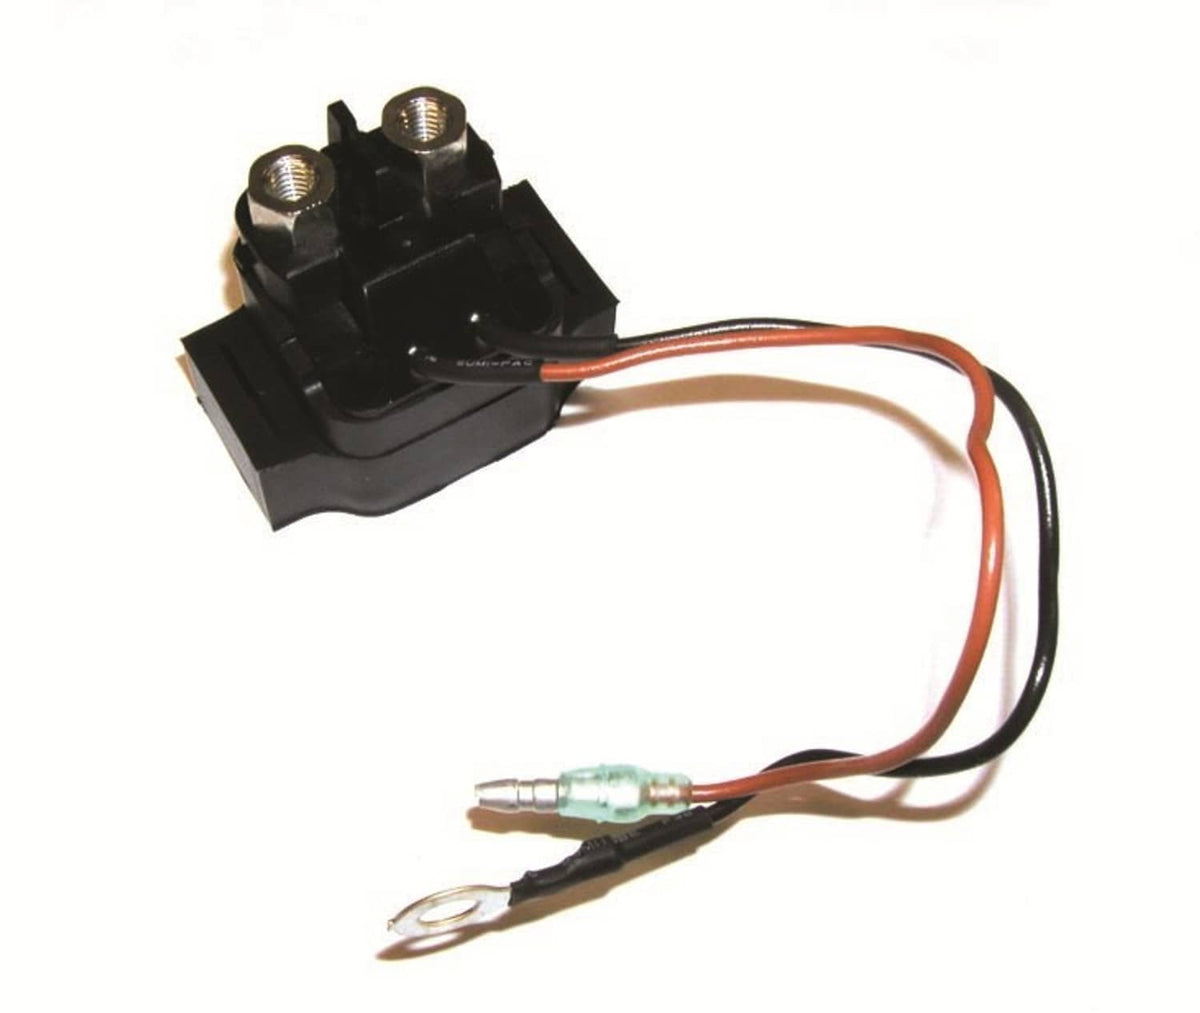
68V-8194A-00-00 Starter Solenoid for Yamaha 4 Cyl 4 Stroke 70 2010-2021
68V-8194A-00-00 Starter Solenoid for Yamaha 4 Cyl 4 Stroke 70 2010-2021
Couldn't load pickup availability
Starter Solenoid for Yamaha
This starter solenoid is an electrical relay that engages the starter motor on Yamaha 4-cylinder 4-stroke outboards, cross-referenced to OEM part 68V-8194A-00-00.
Overview
This starter solenoid for Yamaha fills the relay position between your battery and starter motor, closing the high-current circuit when you turn the key. Built as a dependable replacement, this starter solenoid restores consistent cranking on 70 HP Yamaha 4-cylinder 4-stroke outboards from 2010 through 2021. It suits boat owners and marine mechanics handling routine electrical maintenance.
Built For Performance
- Direct cross-reference to OEM part number 68V-8194A-00-00 for confident fitment matching
- Heavy-duty contact terminals sized for repeated high-current starting cycles
- Sealed housing construction suited to the damp marine engine environment
- Coil winding rated for 12-volt marine electrical systems
- Drop-in mounting pattern matching the factory relay footprint
Fits These Machines
- for Yamaha 4-cylinder 4-stroke 70 HP outboards, 2010-2021
On-The-Job Use
- Replacing a solenoid that clicks but will not crank the engine
- Routine refresh of aging starting circuit components
- Seasonal pre-launch electrical checks on outboard-powered boats
- Shop repairs where a no-crank fault traces to the relay
Specs At A Glance
| Part Number(s) | 68V-8194A-00-00 |
| Component Type | Starter solenoid relay |
| Engine Fitment | Yamaha 4-cylinder 4-stroke |
| System Voltage | 12V |
Good To Know
Q: How do I know the solenoid is the faulty part? A: A single loud click with no crank often points to the solenoid, while a completely silent key turn can indicate the switch or wiring. Testing voltage at the relay terminals confirms where the circuit breaks.
Q: Can I install this myself? A: Yes, it mounts with basic hand tools and typically involves disconnecting the battery, unbolting the old relay, and transferring the cables. Always disconnect the negative battery terminal first.
Slight variation in finish or dimensions may occur between production runs, and fit can depend on serial number, so confirm compatibility before ordering.
 Get it between -